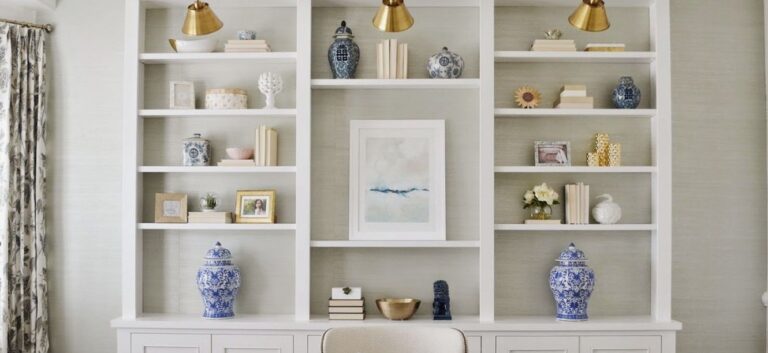
Lime washing is back—and for good reason. This age-old technique, which dates back centuries, delivers a soft, chalky finish that instantly adds warmth and character to interiors. Whether you’re a DIY enthusiast or an interior designer looking for a modern twist on vintage elegance, lime washing is the perfect choice to transform your space into a blend of charm and sophistication.
This guide will show you everything you need to know about lime washing, including its benefits, how to prepare your walls, and expert tips to achieve flawless results. Here’s your ticket to a gorgeous, textured finish that’s as eco-friendly as it is timeless.
Step 1: Preparing Your Walls
Preparation is key to achieving seamless lime washing results. Follow these steps to ensure success.
Materials You’ll Need
- Limewash (pre-made or DIY – we’ll cover how to make it below)
- Wide, soft-bristle brushes or masonry brushes
- Drop cloths and painter’s tape for protection
- A bucket for mixing
- Clean sponge and mild detergent for cleaning walls
Preparing the Surface
Clean the Walls
Remove dirt, grease, and debris using a sponge and mild detergent. Start with a smooth, clean surface to get the most out of your lime wash.
Repair Any Major Flaws
Fill large cracks or holes with a suitable filler. Remember, lime wash will soften imperfections but can’t cover significant damage.
Tape and Protect
Cover the edges of trim, windows, and floors with painter’s tape or a drop cloth. Limewash is messy, so don’t skip this step!
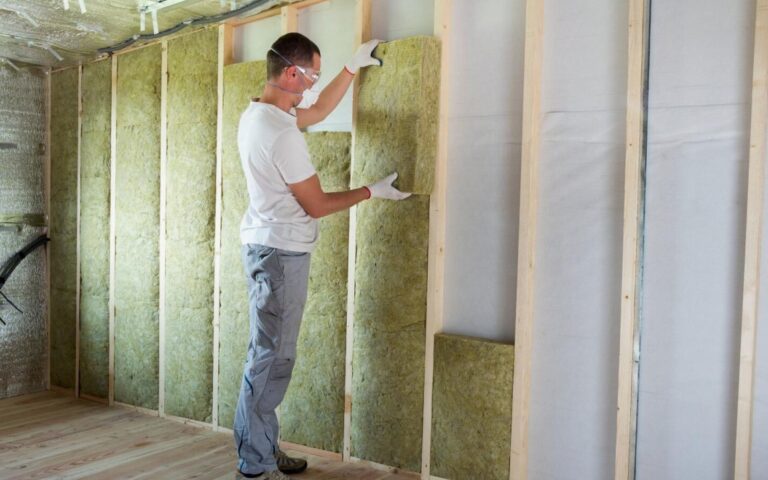
Prime (if Required)
If you’re applying lime wash over a painted surface or plaster, you might need a specialized mineral primer to help the lime wash adhere.
Step 2: How to Lime Wash Walls
Mixing Your Lime Wash
If you’re making it from scratch, mix 1 part hydrated lime with 1.25 parts water. Stir thoroughly until it’s smooth and creamy. You can add pigments for custom colors at this stage (natural, earthy hues work beautifully).
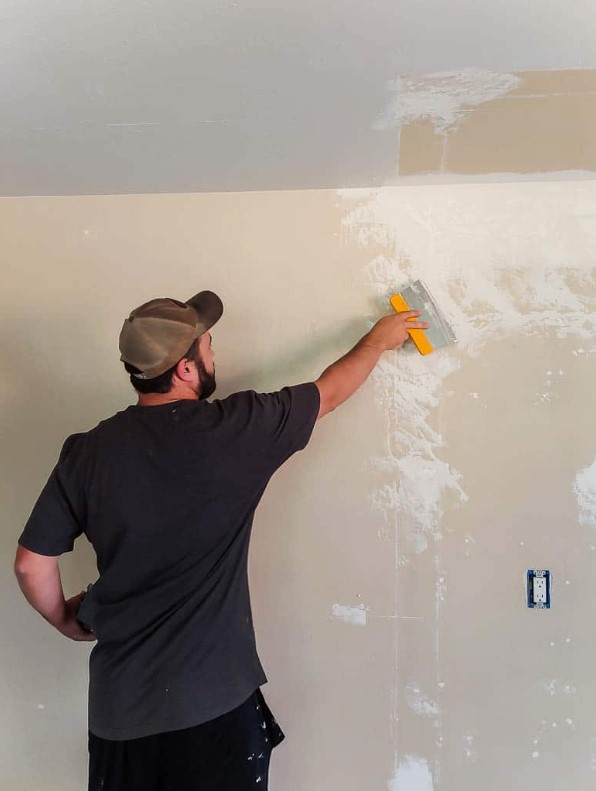
The Application Process
Test First
Always test your chosen mix on a small patch to see the color and texture when dry. Limewash often lightens as it cures.
Work in Sections
Using a soft-bristle brush, apply the lime wash in sweeping, crisscross strokes. This technique creates the unique texture lime wash is known for.
Layer as Needed
Apply thin layers, allowing each one to fully dry (approximately 24 hours) before adding the next. Typically, two to three coats will give you the desired effect.
Blend as You Go
Limewash should look organic and imperfect—embrace it! Blend edges to avoid harsh lines for a natural, soft finish.
Step 3: Tips for the Perfect Finish
To elevate your limewashing game, keep these expert tips in mind.
Technique
- Use wide strokes and avoid creating a patterned look. Limewash should feel freeform and organic.
- Blend wet edges as you work to get rid of harsh overlaps.
Choose the Right Hue
- Neutrals like whites, greys, and soft beiges suit most interiors and enhance the natural aesthetic of lime wash.
- If bold colors are your thing, opt for earthy tones—you’ll still get the timeless charm lime washing offers.
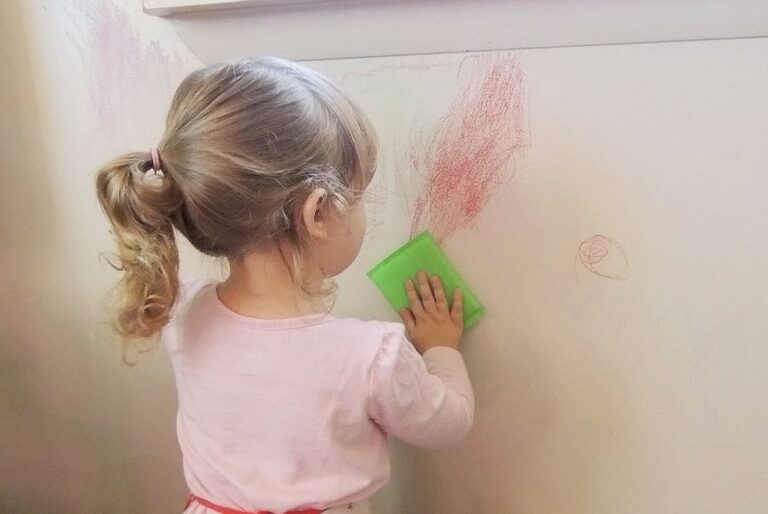
Maintenance
- Clean gently with water and a soft cloth—abrasive cleaners can damage the lime wash finish.
- Over time, touch-ups are simple and can often be done without repainting the entire wall.
FAQs During Application
What does lime wash do to walls?
Limewash creates a matte, textured finish while providing a natural, breathable coating that enhances the surface beneath.
Can you limewash an already-painted wall?
Yes, but you’ll likely need a mineral primer to ensure proper adhesion on non-porous or glossy paint.
What kind of paint do you use for limewash?
A true lime wash uses hydrated lime mixed with water and natural pigments rather than synthetic paint. However, there are pre-mixed lime wash products available, perfect for beginners!
Why Lime Wash is Worth It
Lime washing is more than just a decorative technique; it’s a commitment to timeless beauty, sustainability, and design with character. Its eco-friendly credentials, unique texture, and enduring durability make it a standout choice for homeowners, designers, and anyone looking to enhance their interiors.
There’s something magical about this ancient practice that continues to captivate modern spaces. From rustic charm to high-end minimalism, lime washing is the versatile finish that refuses to go out of style.
Are you ready to give it a go? Grab your brushes, mix up your lime wash, and get creative! Share your limewashing adventures or reach out for more tips—we’d love to hear about your transformation.