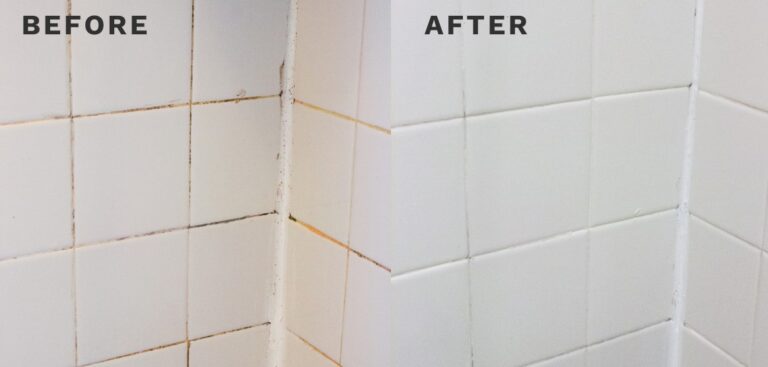
Cleaning grout can feel like an impossible task. Those stubborn stains challenge even the strongest cleaning products, leaving you frustrated and your tiles dull. If you’ve been searching for a powerful yet safe solution, hydrogen peroxide might be the answer.
In this guide, we’ll explore why hydrogen peroxide is the ultimate grout stain remover, walk you through using it effectively, and share tips to keep your grout looking fresh long-term. By the end, you’ll have all the tools you need to confidently restore that bright, clean look to your tiles!
Hydrogen Peroxide is The Ultimate Grout Stain Remover
What is Hydrogen Peroxide, and Why Does it Work on Grout Stains?
Hydrogen peroxide (H2O2) is a colorless liquid often used as a mild antiseptic. But it’s not just for first aid—it’s also a powerhouse in the world of cleaning. At its core, hydrogen peroxide works as an oxidizer, breaking down grime, grease, and organic stains at a chemical level.
When applied to surfaces, its bubbling reaction isn’t just for show; this process helps lift dirt particles from porous grout, making them easier to scrub away. Additionally, its antimicrobial properties make it a fantastic solution for removing mold and mildew, which often contribute to grout staining.
Advantages of Using Hydrogen Peroxide
Why choose hydrogen peroxide over commercial cleaners or other DIY hacks? Here’s what sets it apart:
- Eco-Friendly: Unlike harsh chemical cleaners, hydrogen peroxide is non-toxic and biodegradable. It’s safe for your home and the environment.
- Gentle Yet Effective: While strong on stains, hydrogen peroxide won’t damage most grout or tiles.
- Affordable and Easily Accessible: You likely already have a bottle tucked away in your medicine cabinet, making it a budget-friendly choice for cleaning tasks.
- No Strong Odors: Unlike bleach-based cleaners, hydrogen peroxide doesn’t leave an overwhelming chemical smell behind.
Step-by-Step Guide to Removing Grout Stains with Hydrogen Peroxide
Cleaning grout with hydrogen peroxide is simple, but results depend on the right approach. Here’s how to make the most of this powerful cleaner:
Step 1: Prepare the Grout for Cleaning
Before jumping into cleaning, take these preparatory steps to ensure success:
- Clear the Area: Remove any obstacles like rugs or furniture from the area you’ll be cleaning.
- Vacuum or Sweep: Dirt or debris on the tile surface can interfere with cleaning, so give the area a quick sweep or vacuum to clear it up.
- Wipe Down with Warm Water: Use a damp cloth or mop to wipe down the grout and tiles. This will loosen surface grime and make the hydrogen peroxide more effective.
Step 2: Apply Hydrogen Peroxide Effectively
Now it’s time to apply the hydrogen peroxide to the stained grout:
- Pour hydrogen peroxide directly onto the grout or use a spray bottle for more control.
- Mix hydrogen peroxide with baking soda to create a thick paste if the stains are particularly stubborn. Apply this paste to the grout for an added abrasive cleaning boost.
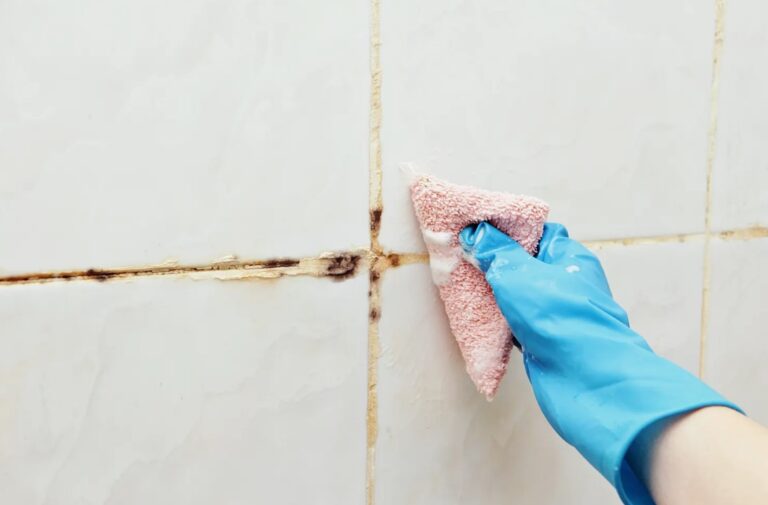
Step 3: Scrub Like a Pro
Scrubbing is where the magic happens! For best results:
- Choose the Right Tool:
- Use a stiff-bristled toothbrush or a grout cleaning brush. Avoid metal brushes as they can damage grout.
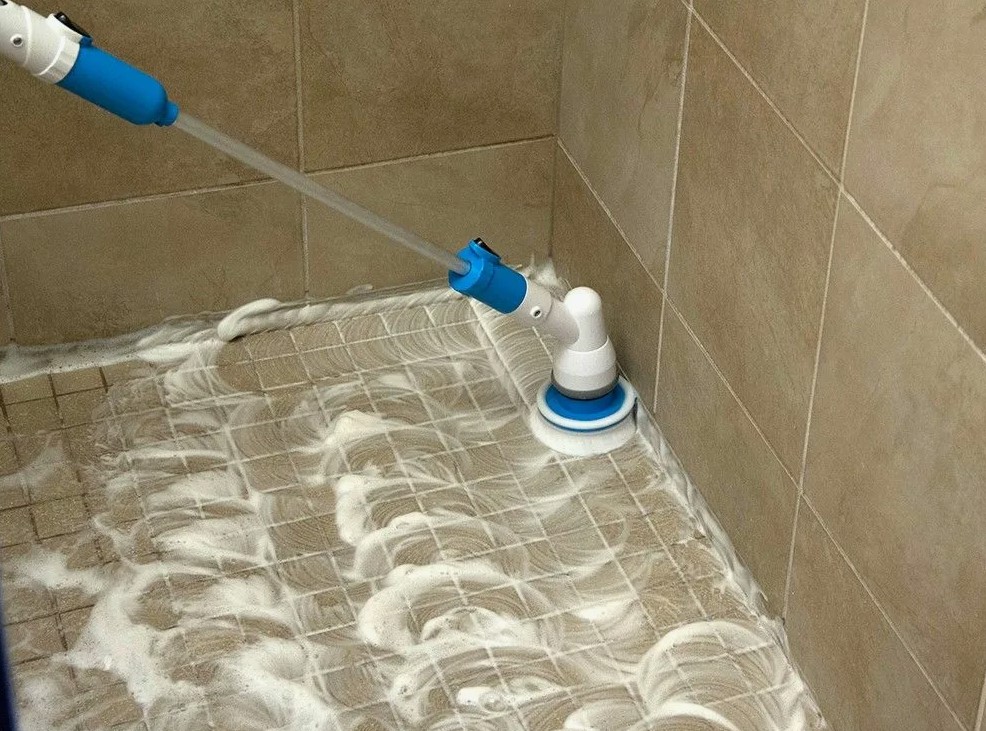
- For efficiency, consider a scrubbing pad or an electric grout brush for larger areas.
- Scrub in Circular Motions:
- Work the hydrogen peroxide or paste into the grout lines using small, circular motions. Focus on deeply stained areas.
- Give It Time:
- Allow the hydrogen peroxide to sit on the grout for 5-10 minutes, especially on tough stains. This gives it time to break down the grime.
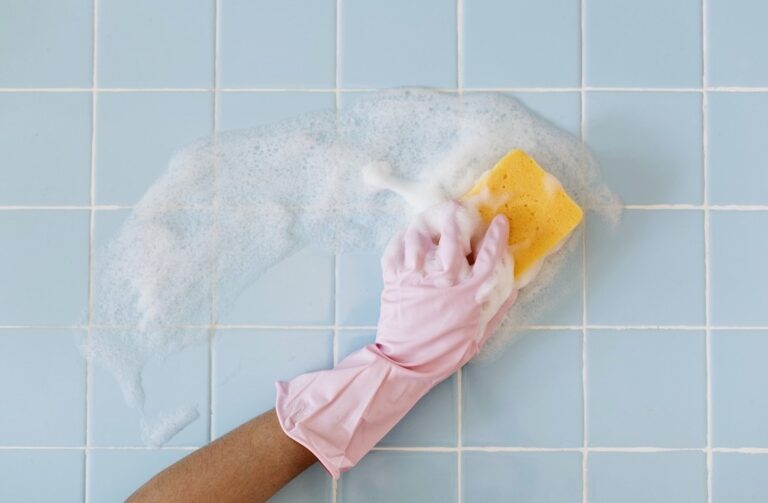
Step 4: Rinse and Dry
After scrubbing, rinse the area thoroughly with warm water to remove any residue.
- Wipe Away Excess Water:
- Use a clean cloth or mop to dry the tiles and grout. Damp grout encourages mold, so ensure it’s scorched.
- Inspect Your Work:
- Check to see if any stains remain. For incredibly stubborn spots, repeat the process.
By following these steps, you’ll be amazed at how bright and clean your grout looks!
Tips for Preventing Future Grout Stains
Once you’ve worked hard to restore your grout, it’s worth taking steps to keep it clean. Preventive maintenance can save you time and effort down the line.
Regular Maintenance
- Wipe Daily:
- Regularly use a damp mop or cloth to remove surface debris and spills from tiles.
- Clean Weekly:
- Deep-clean grout at least once a week to prevent stains from setting in.
- Ventilate Bathrooms:
- Grout in bathrooms is particularly prone to mold and mildew. Use exhaust fans or open windows to reduce humidity after showers.
Seal Your Grout
One of the most effective ways to keep grout stain-free is by sealing it:
- What is a to spread the sealer over your grout lines ?
- Grout sealer is a protective coating that repels moisture, dirt, and spills, preventing them from seeping into grout pores.
- When to Apply?
- Seal grout after cleaning or installation, and reapply every 6-12 months to maintain protection.
- How to Apply?
- Use a foam brush or applicator bottle to spread the sealer evenly over your grout linesmassive. Allow it to dry completely before using the tiled surface.
Sealing your grout is a small task that can make a massive difference in the fight against stains.
Maintain Spotless Grout with Ease
Hydrogen peroxide is a powerful, safe, and accessible solution for even the toughest grout stains. By following the steps above, you can restore—and protect—the look of your tiles without resorting to harsh commercial chemicals.
The key to lasting results is consistency. Regular maintenance and preventive measures, like sealing grout, ensure your tiles and grout stay clean and beautiful.