When tackling a tiling project, patience truly pays off—especially when it comes to grout. If you’re wondering how long to let grout dry before sealing, the short answer is 48 to 72 hours. This window gives the grout enough time to fully cure, ensuring strong adhesion and long-term durability.
Rushing this process? That’s a recipe for trapped moisture, poor sealant effectiveness, and even grout damage over time. Whether you’re a homeowner, DIY hobbyist, or seasoned pro, understanding the importance of grout drying time is key to getting your project just right.
I will explain my experience regarding:
- Why grout needs to fully dry
- Factors that influence drying time
- Signs your grout is ready for sealing
- And tips for proper sealing
Grab your tools, and let’s make sure your grout stands the test of time!
Why Grout Needs to Fully Dry
Even though grout may look dry on the surface after 24 hours, the deeper layers are often still holding moisture. Ensuring full drying before applying a sealant is critical for several reasons:
1. Avoid Trapped Moisture
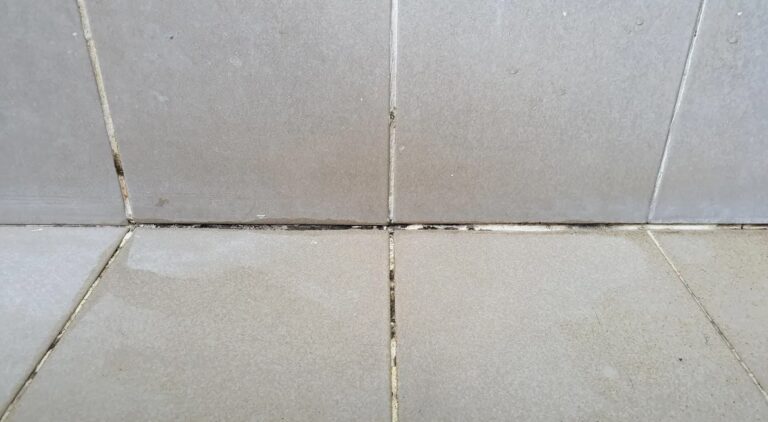
Sealing grout prematurely creates a waterproof barrier that locks moisture in. Unfortunately, this can lead to mold or mildew growth within the grout and compromised structural integrity over time.
2. Enable Proper Curing
Grout needs to “cure,” a chemical process that involves the evaporation of water and the hardening of materials. This helps:
- Strengthen grout bonds.
- Prevent long-term cracking.
- Protect against wear from daily use.
Allowing ample drying time helps grout achieve its intended durability.
3. Ensure Effective Sealant Application
Sealants adhere better to dry grout. Applying sealant over damp surfaces reduces its effectiveness, leaving your grout vulnerable to water absorption, stains, and wear.
Giving grout the full 48-72 hours significantly increases the lifespan of your tiled surfaces by creating a durable, well-sealed finish.
Factors That Affect Grout Drying Time
While the 48 to 72-hour rule is a standard guideline, multiple factors can influence how long grout takes to dry. Knowing these variables helps you plan better and avoid mistakes.
1. Type of Grout
Cement-Based Grout
The most common grout variety, cement-based grout, requires slower drying because water evaporation is a key part of its curing process.
Epoxy Grout
This grout dries faster because it relies on a chemical reaction rather than water evaporation. Typically, epoxy grout dries in 24 hours or less, making it a faster alternative. Always check the manufacturer’s instructions for drying time.
2. Environmental Conditions
Humidity
High humidity slows down the evaporation process, potentially extending drying time. If you’re working in a damp or rainy environment, you may need to wait longer.
Temperature
Warmer temperatures promote faster drying, while colder conditions can significantly delay the process. Aim for a room temperature of 65–75°F (18–24°C) for optimal results.
3. Tile Type and Grout Lines
Tile Porosity
Porous tiles, like stone, absorb moisture from the grout, potentially speeding up drying time. Non-porous tiles, like porcelain or glass, don’t absorb water, which may delay evaporation.
Grout Line Size
Wider grout lines mean more grout—and more water—that needs to dry. Similarly, narrow grout lines may create tighter spaces that hold moisture, impacting drying time.
Accounting for these factors ensures you’re not sealing too soon or waiting longer than necessary.
Signs Grout Is Ready for Sealing
Not sure if your grout is dry enough? Here are some tell-tale signs to confirm it’s ready for sealing:
1. Visual Appearance
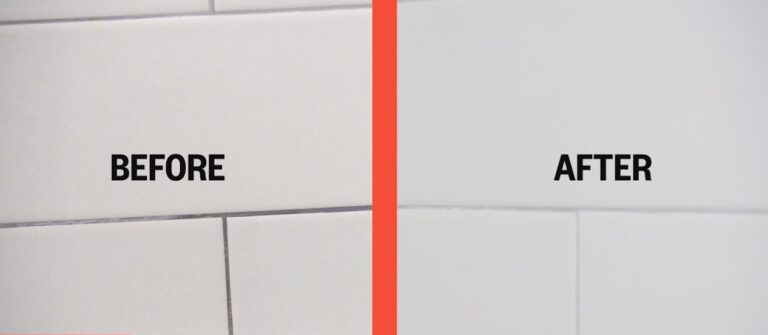
Check the color of your grout. Fully dried grout often looks a shade lighter than when it was first applied. Consistency is key—if certain areas appear darker, they might still be damp.
2. Touch Test
Run your fingers over the grout lines. Properly dried grout should feel firm, not damp, soft, or sticky. Avoid any areas that feel cool to the touch, as this could indicate lingering moisture.
3. Manufacturer Guidelines
Always refer to the product-specific drying instructions. These guidelines are tailored for the composition of the grout and provide the most reliable information.
When in doubt, give it extra time—it’s always better to err on the side of caution.
Tips for Proper Sealing
Once your grout is ready, sealing is the final step in protecting your hard work. Follow these tips to make the process smooth and effective:
1. Test for Complete Dryness
Before sealing, try this simple test:
- Place a plastic sheet over a small section of grout. Tape down the edges to create an airtight seal.
- Leave it overnight.
- Check for condensation under the plastic in the morning. If it’s dry, your grout is good to go!
2. Choose the Right Sealant
Not all grout sealants are created equal. Consider:
- Penetrating Sealants for porous grout to repel water while maintaining breathability.
- Membrane-Forming Sealants for non-porous grout to create a protective barrier.
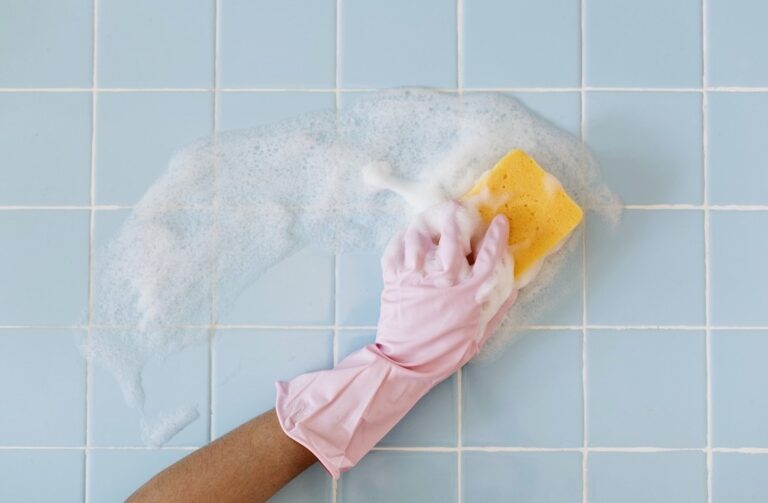
3. Apply Sealant Evenly
Use a small brush or applicator to apply the sealant evenly along each grout line. Work in small sections to avoid missing spots, and wipe away excess sealant before it dries on the tiles.
4. Reseal Periodically
Even sealed grout needs maintenance! Reseal your grout every 12 to 24 months, depending on wear and exposure to moisture. Check if water beads on the surface—if not, it’s time to reseal.
By sealing properly, you’ll protect your tiles from stains, moisture, and daily wear, keeping them looking pristine for years.
Patience Pays Off When Sealing Grout
Taking the time to properly dry and seal grout might feel like a hassle, but the payoff is worth it. Following the 48 to 72-hour drying rule ensures maximum durability, better resistance to moisture, and a polished finish that lasts.
Before sealing, double-check your grout’s specific drying needs based on its type, environmental conditions, and appearance. With the right sealant and a little care, your tile surfaces will stay protected and beautiful for years to come.