Wall shelves can transform any space. Whether you’re showing off your book collection, creating stylish cat perches, or organizing a garage, shelves add both function and flair. Ever thought about building your wall shelves? From sleek floating shelves to classic bracket-mounted designs, you can customize wall shelves to suit your style and learn how to build wall shelves, cost-effectively.
How Do You Build Wall-Mounted Shelves?
Here’s a straightforward, step-by-step guide to making wall-mounted shelves.
Supplies You’ll Need to Build Wall Mounted Shelves
- Cut the wooden boards to your desired length.
- Brackets (if you’re using them)
- Screws
- Drill
- Level
- Sandpaper
- Paint or wood stain (optional)
How to Make Wall-Mounted Shelves
Measure and Plan: Decide where your shelves will go and measure the wall space. Mark anchor points with a pencil.
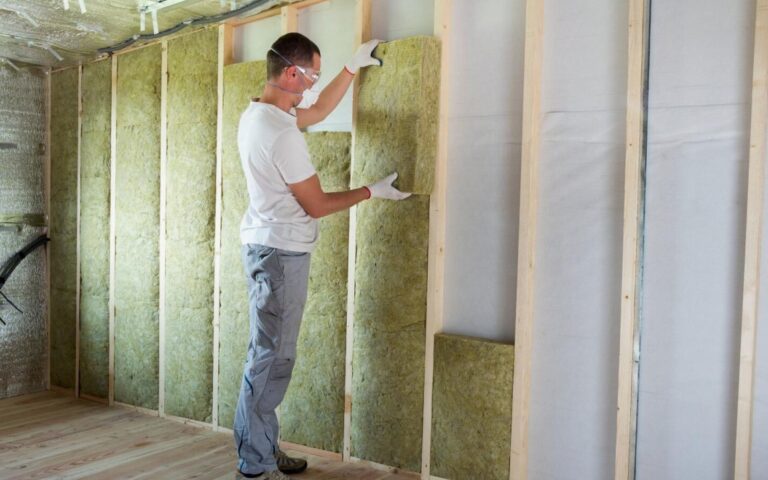
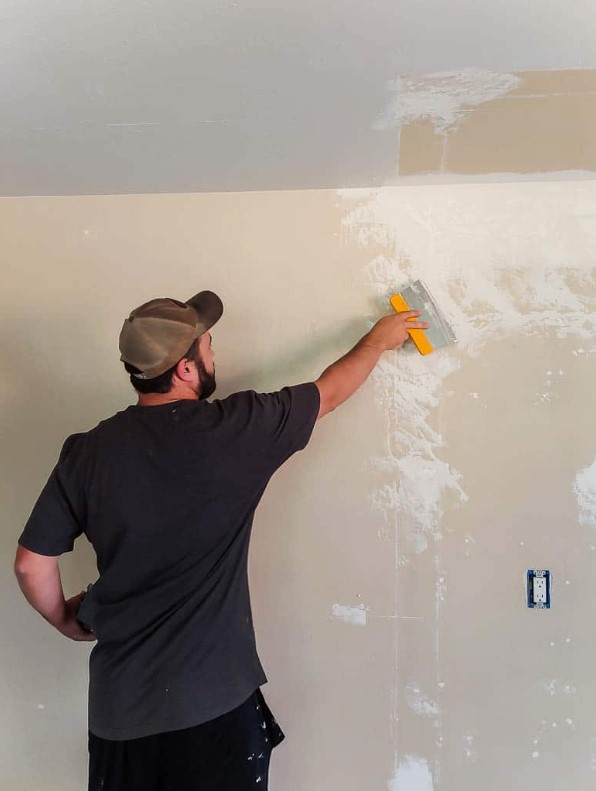
Prepare the Wood: Sand the boards for a smooth finish, then paint or stain if desired. You can also skim-coat your wall before you paint it.
Install Supports: If you’re using brackets, attach them to the wall first. Use a level to ensure they’re straight.
Secure the Shelves: Place the wood on the brackets or attach it directly to the wall (for floating shelves).
Check Stability: Give it a firm press test to ensure your new shelf is secure and can handle weight evenly.
Use this method for both small shelf projects (like creating a display area) and large-scale shelves for organization in spaces like garages.
How to Build Wall Shelves Floating
Building your floating shelves is a rewarding DIY project that allows you to personalize your space while saving money. Here’s a simple step-by-step guide to help you create custom shelves in just a few hours!
Materials You’ll Need
- Pre-cut wooden planks (choose your desired length and thickness)
- Consider using heavy-duty hidden brackets or floating shelf hardware.
- Wall screws and drywall anchors
- Measuring tape
- Pencil
- Drill and screwdriver
- Sandpaper
- Paint or finish (optional)
Step 1: Choose and prepare your wood
Start by selecting your wooden planks. Sand the wood thoroughly to smooth out rough edges and ensure a polished look. If you want to add some colour, apply paint, stain, or a clear finish to protect the wood and enhance its appearance. Allow the finish to dry completely before moving on.
Step 2: Locate Your Studs
Using a stud finder, locate the studs in the wall where you plan to install the shelves. Mark the stud positions lightly with a pencil—this will help ensure your shelves are secure and able to bear weight.
Step 3: Attach the Brackets
Position your brackets against the wall at the desired height and align them with the wall studs. Use your measuring tape to ensure the brackets are level before attaching them with screws and an electric drill.
Step 4: Mount the Shelves
Carefully slide the wooden planks onto the brackets. Most hardware includes screws or fasteners that allow you to secure the shelf to the bracket for added stability. Ensure you tighten everything and verify the levelness of your shelf.
Step 5: Style and Enjoy
Once installed, your floating shelves are ready to display! Add books, plants, or decorative pieces to bring your new shelves to life while complementing your room’s overall style.
By following these steps, you can create beautiful, practical floating shelves while enjoying the satisfaction of a DIY accomplishment!
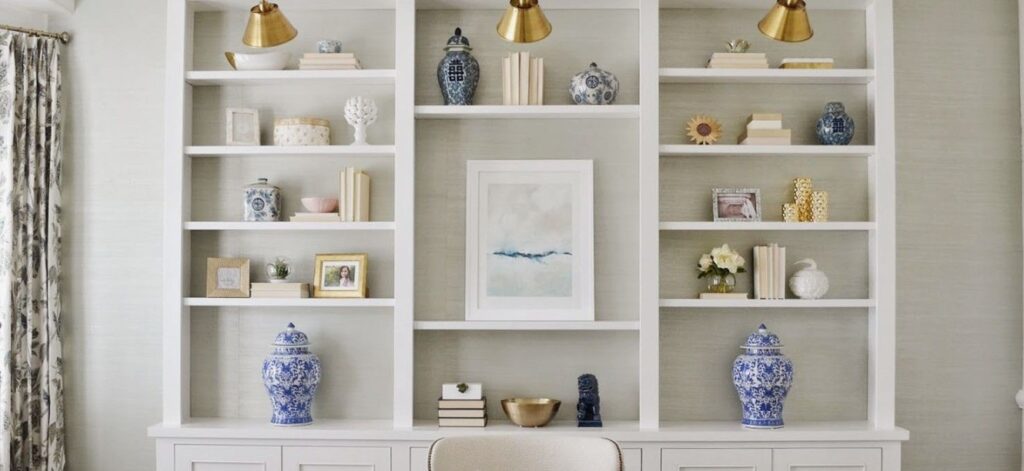
Style Your Shelves
Let your shelves reflect your personality, from conservative to wild. Here are some style tips to get you started:
- Use different-sized pieces but group items in odd numbers (3 or 5).
- Vary colours and textures for a layered look.
- Play with symmetry for a classic appearance.
Contrary to popular belief, floating shelves aren’t difficult to build. You can achieve a “bracketless” appearance on a tight budget by using pre-drilled wood planks and heavy-duty brackets.
Do Wall Shelves Need Studs?
Whenever possible, anchor shelves into wall studs to maximize stability. For heavier items like books or equipment, studs are a must! If no studs are available, consider drywall anchors or toggle bolts. These provide the necessary support to avoid sagging or accidents.
Mix Materials
Mix and match materials like wood, metal, and glass to give your shelves a modern appeal. Try combining a sturdy oak shelf with industrial bronze brackets for a trendy look, or incorporate reclaimed wood for extra character.
Hide Your Mounting System
For a sleek, minimalist appearance, opt for hidden mounting systems. Floating shelves (built without visible brackets) look clean and modern and make smaller spaces feel less cluttered.
Don’t Underestimate Prefabricated Shelves
If designing from scratch feels overwhelming, use prefabricated materials. Many home improvement stores sell pre-measured boards and bracket kits that simplify assembly without sacrificing quality.
Blocking Optional Shelves
Use blocking techniques for shelves that don’t need to bear weight. This involves placing a painted or wallpaper-backed panel behind the shelf for decoration and style.
Use identical materials for a contemporary look
Same wood grain and color for all shelves to keep things uniform. The consistency gives your space a modern and polished aesthetic.
Ceiling’s The Limit
Take advantage of vertical space. Mount shelves higher on your walls or even suspend them from ceilings to create unique storage solutions.
Upgrade Standard Floating Shelves
Add decorative touches to elevate the standard floating shelf. Consider painting your shelves in bold colours or attaching LED strips underneath for ambient lighting.
Show Off Your Stuff with Clear Shelves
Acrylic or glass wall shelves are perfect for showcasing your favorite decor without detracting from the items themselves. These transparent materials are ideal for minimalist or modern interiors.
Repurpose Existing Spaces
Turn nooks, corners, or unused wall areas into functional shelving spots! Narrow areas, such as the space beside a fireplace or over a doorway, can become stylish display spaces.
Think about alternative storage solutions
Extend your shelving creativity to other areas like the garage. Heavy-duty wall shelves in a garage can organize tools, supplies, and seasonal storage effortlessly.
MDF Shelving
MDF (medium-density fiberboard) is lightweight, affordable, and smooth—making it perfect for simple DIY projects. Ensure you seal or paint MDF to protect it from moisture.
Brackets & Clamps Are Your Friends
Classic bracket-supported shelves are timeless and simple to customize. For a design upgrade, choose decorative clamps or industrial brackets.
Create visual interest with wallpapers
Attach wallpaper to the back of your shelves to add personality. This works particularly well for built-in or recessed shelves, creating a pop of colour or texture.
Lighting Is Crucial
Never underestimate good lighting! Whether it’s task lighting for garage shelves or overhead lights to highlight styled decor pieces, thoughtful illumination takes shelves up a notch.
Wrap-Up Thought
You can build simple or elaborate wall shelves. Whether you’re looking to create storage in a garage, bookshelves for your favourite novels, or decorative shelves to brighten up your living room, there’s a DIY option for everyone. Take a look at how we got rid of ants in our walls.