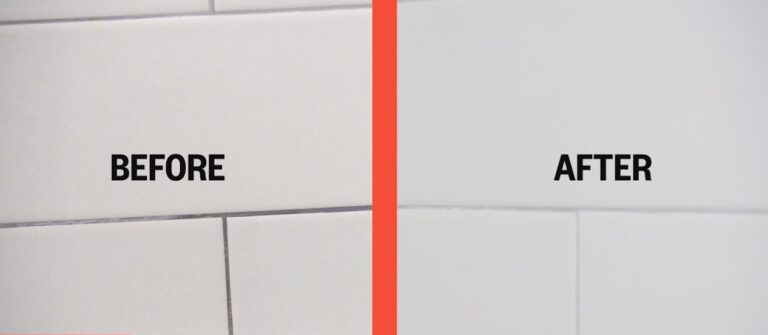
Grout can make or break the aesthetic of your tiles. While shiny, spotless grout can bring out the beauty of your flooring, backsplash, or bathroom walls, stained or discolored grout can make even the most expensive tiles look grimy and dull. If you’ve been sighing at your grout wondering how to restore its crisp white look, you’re in the right place.
This guide explores easy, effective ways to whiten grout, from everyday household solutions to deeper cleaning methods and preventative maintenance routines. By the end of this blog, you’ll have all the tools you need to make your grout look brand new again—and keep it that way.
Why Does Grout Discolor?
Before you start tackling the issue, it’s worth understanding why grout gets dirty in the first place.
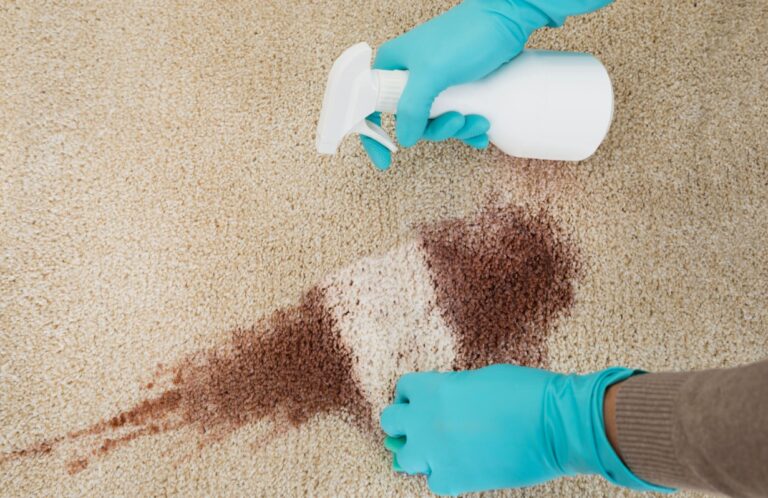
Grout discoloration occurs primarily due to dirt, moisture, and mold. These elements trap debris over time, and porous grout lines absorb liquids, leading to unsightly stains. Common culprits include spilled food, soap scum, hard water stains, and foot traffic. This is especially true in high-moisture areas, like bathrooms, or high-use areas, like kitchens and entryways.
Essential Supplies for Cleaning Grout
Before embarking on your grout-cleaning mission, gather the right tools. Here’s a quick checklist to ensure you’re prepared:
- Scrubbing tools: A small bristle brush (like a toothbrush or dedicated grout brush).
Cleaning Solutions
- Baking soda
- Vinegar
- Hydrogen peroxide
- Commercial grout cleaner
Protective gear
- Gloves
- Eye protection (if using stronger chemicals like bleach)
- Optional:
- Steam cleaner
- Grout pen or sealer (for restoration or protection).
Methods to Make Grout White Again
1. Natural DIY Cleaning Methods
Natural solutions are often a great first step for lightly stained grout. They’re affordable, accessible, and eco-friendly.
Baking Soda and Vinegar
- Baking soda
- White vinegar
- Water
- Mix baking soda with water to form a thick paste. Spread it over the grout lines.
- Spray or pour white vinegar over the paste. The mixture will fizzle.
- Allow it to sit for about 5 minutes, then scrub gently using a grout brush.
- Rinse with warm water and wipe dry.
Hydrogen Peroxide and Baking Soda
- Baking soda
- Hydrogen peroxide
- Mix hydrogen peroxide with baking soda until it forms a paste.
- Apply it to the grout lines and wait 10-15 minutes.
- Scrub and rinse thoroughly.
Pro Tip: Natural cleaners work best on light to moderate staining. If stains persist, you may need to opt for stronger commercial solutions.
2. Using Commercial Grout Cleaners
For tougher stains, commercial grout cleaners often provide excellent results. Look for a product labeled specifically for grout and tiles, as these are designed to penetrate deep into the pores of the grout. Popular options include Zep Grout Cleaner or Soft Scrub with Bleach.
- Apply the grout cleaner per the instructions on the product label.
- Allow the product to sit for the recommended time to break down stains.
- Scrub the grout with a stiff brush and rinse well.
Warning: Always perform a spot test in an inconspicuous area before applying the product to all grout lines.
3. Deep Cleaning with a Steam Cleaner
If scrubbing alone isn’t doing the trick, a steam cleaner may save the day. Steam cleaning can loosen dirt and grime that’s deeply embedded in grout.
- Rent or purchase a steam cleaner with a tile/grout attachment.
- Slowly glide the nozzle over grout lines.
- Wipe the area dry to remove any remaining moisture.
Steam cleaning is chemical-free and safe to use on most tiles, making it an excellent option for eco-conscious homeowners.
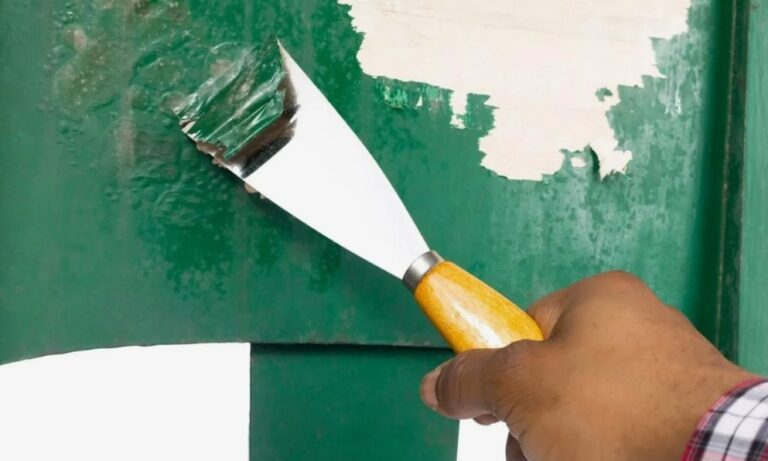
4. Grout Painting and Sealing
If your grout has absorbed years of stains or has permanent discoloration, grout painting and sealing may be the solution. It will restore your grout lines to a like-new appearance while protecting them from future stains.
- Start by thoroughly cleaning the grout to remove surface stains and debris.
- Choose a grout paint or colorant in white or a shade that complements your tiles.
- Use a fine paintbrush or applicator to carefully apply the paint to the grout lines.
- Seal the grout once the paint is dry to ensure it stays pristine.
Sealing grout after cleaning or painting prevents it from absorbing dirt or liquids. Most products are simple to apply and can keep your grout looking spotless for up to 6-12 months.
Pro Tip: Grout paint is especially useful for older installations where standard cleaning methods don’t suffice.
Maintaining Clean Grout
Daily and Weekly Routines
The best way to keep grout white is consistent preventive care.
Daily
- Clean up spills immediately to prevent staining.
- Wipe down bathroom tiles with a dry cloth after showers to reduce moisture.
Weekly
- Use a mild cleaner (or the vinegar and water mixture) to wipe down tile surfaces.
- Scrub grout with a brush and mild soap to remove any new buildup.
Long-Term Strategies
- Seal grout periodically:
Sealers act as a barrier against mold, moisture, and dirt. Reapply every 6-12 months, especially in high-moisture areas.
- Install ventilation systems:
Combat humidity in bathrooms with a good ventilation system to reduce moisture—a leading cause of mildew.
- Use mats and rugs:
Protect tiled areas at kitchen sinks or entryways with mats, as these areas are especially prone to soil buildup.
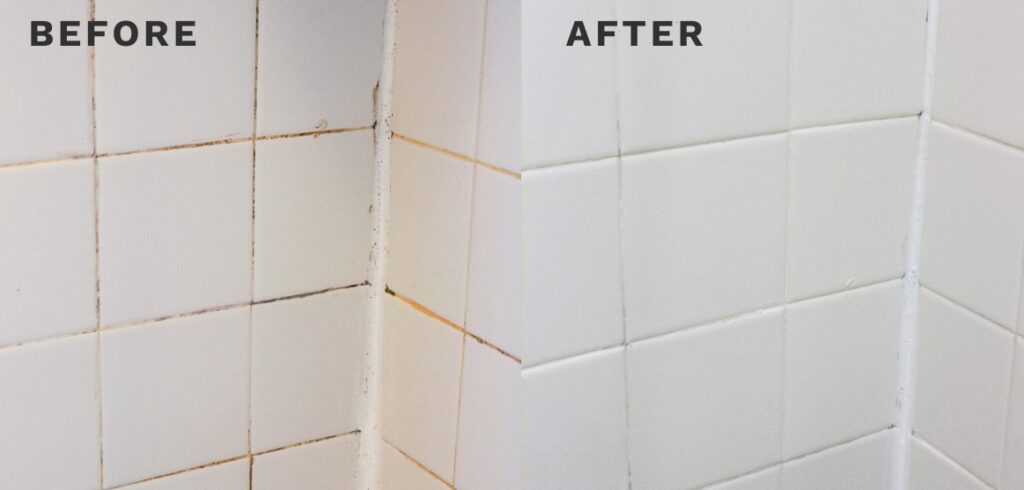
Bring Your Grout Back to Life Today
Clean, white grout doesn’t just make your home look fresh—it also protects your surfaces, boosts value, and creates a healthier living environment. Whether you choose a DIY method or opt for grout restoration products, the tools are now in your hands.
For larger or more persistent grout issues, hiring a professional cleaner might be the best route. Consider giving your grout the TLC it deserves—you’ll be amazed at the difference it makes.