Removing dried paint drips from wall is a common challenge for DIYers, professional painters, and contractors alike. Whether it’s a stubborn streak from your last home improvement project or a drip you just noticed on your freshly painted wall, tackling this issue can feel a bit daunting.
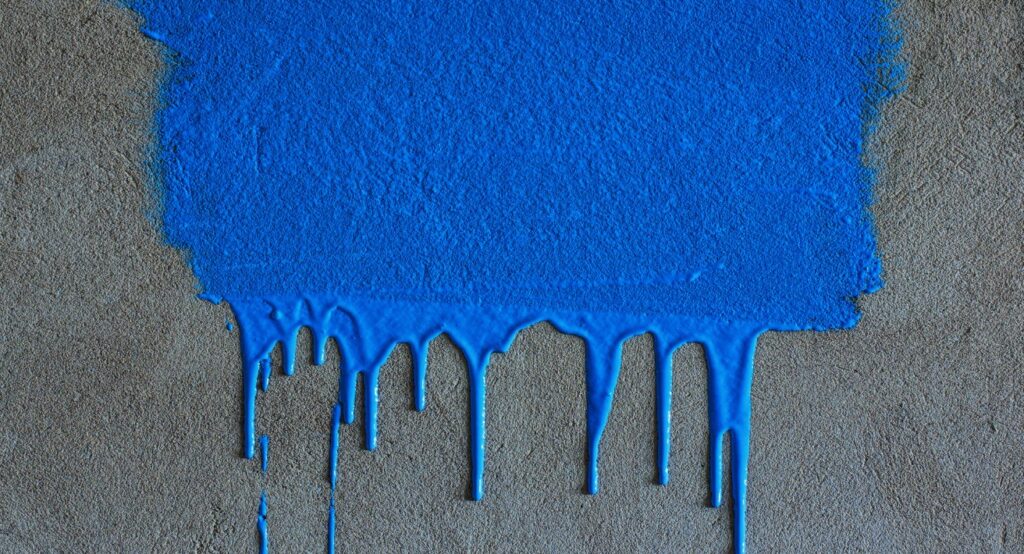
The good news? With the right tools, techniques, and preventive measures, you can effectively restore your walls to perfection. This guide will walk you through everything you need to know about removing dried paint drips, from preparation to execution, and even prevention.
Tools and Materials You’ll Need
Before you start, gather the essential tools and materials to ensure the removal process goes smoothly. Here’s what you’ll need based on the most effective methods for paint removal from walls
Tools you Need to Remove Dried Paint from Wall
- Sandpaper (120-grit and 220-grit)
- Putty knife or paint scraper
- Razor blade or utility knife
- Heat gun (optional, depending on paint type)
Cleaning Supplies that are Needed
- Warm water and a sponge
- Dish soap or mild detergent
- Denatured alcohol or acetone (for stubborn paints)
Protective Gear is a Must
- Dust mask
- Safety glasses
- Gloves
Having these items ready will allow you to choose the most suitable method for your situation without creating additional challenges.
Step-by-Step Guide to Removing Dried Paint Drips from Walls
Now, let’s get to the heart of the matter. Follow these steps to restore your wall’s smooth and flawless finish.
Step 1. Assess the Situation
Examine the paint drip and the wall surface. Is the paint latex-based or oil-based? Latex paint can often be removed with water or denatured alcohol, while oil-based paints require additional effort and possibly stronger solvents like acetone. Knowing the paint type is crucial for selecting the appropriate removal method.
Look at your wall surface too—drywall, textured surfaces, or plaster walls may need special care to avoid damage.
Step 2. Start with Gentle Methods
When possible, begin with the least invasive techniques to prevent unnecessary damage to your wall.
For Latex-Based Paint:
- Dampen a sponge with warm, soapy water. Gently scrub the paint drip.
- If the paint doesn’t budge, gently rub the area with a cloth soaked in denatured alcohol.
For Oil-Based Paint:
- Try using warm soapy water first, as even oil-based paint might soften over time.
- If soap isn’t enough, lightly apply acetone with a cloth to loosen the drip. Be cautious to avoid discoloration.
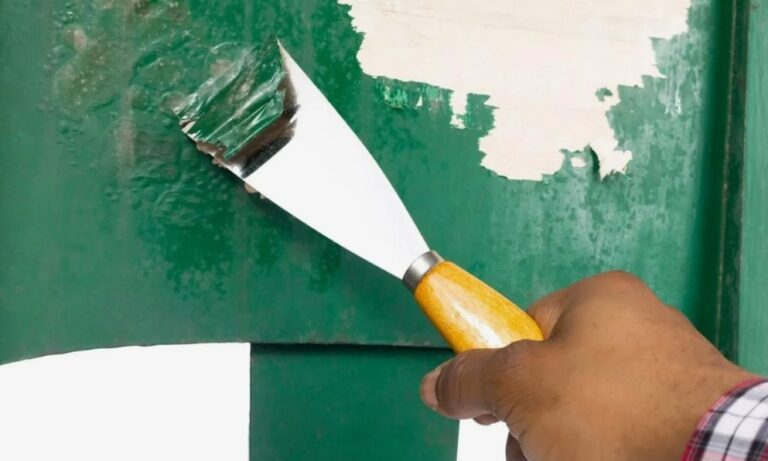
Step 3. Scrape Off the Paint
For more stubborn drips, scraping may be necessary.
- Use a putty knife or a paint scraper to gently lift the paint drip. Hold the tool at a 45-degree angle and scrape carefully to avoid gouging the wall.
- If the drip resists, a razor blade can provide more precision, especially on flat surfaces.
Pro Tip: Warm the paint slightly with a heat gun to soften it before scraping. This is particularly helpful for thick, dried oil-based paints.
Step 4. Sand and Smooth the Area
After successfully removing the paint drip, the next step is to smooth out the area to ensure an even finish.
- Use 120-grit sandpaper to sand the affected area. Apply consistent, gentle pressure to feather the edges of the paint.
- Once the surface feels smooth, switch to finer 220-grit sandpaper to blend it seamlessly with the rest of the wall.
Step 5. Touch Up
To restore the aesthetic of your wall, touch up the area with matching paint.
- Clean the sanded area with a damp cloth to remove any dust.
- Apply a thin layer of primer to ensure proper adhesion.
- Use a small brush or roller to paint over the repaired area. Apply one thin coat at a time, allowing it to dry between layers.
Tips for Preventing Paint Drips in the Future
While it’s great to know how to remove paint drips, prevention is always better! Here are some tips to avoid dealing with dried paint drips again:
- Use Quality Brushes and Rollers: High-quality tools provide smooth, even paint distribution and minimize drips.
- Remove Excess Paint: Dip your brush lightly and wipe excess paint off the edges to prevent overloading.
- Apply Thin Layers: Opt for multiple thin coats of paint rather than a single thick coat, which is more prone to dripping.
- Watch for Drips as You Paint: Keep a damp cloth or brush handy to clean up drips immediately before they dry.
By incorporating these practices, you can enjoy smoother walls and more efficient painting projects.
Common Questions About Paint Removal
Can you remove dried paint from textured walls?
Yes, but use extra caution. Scraping may damage the texture. For best results, use a heat gun or solvent like denatured alcohol to soften the paint before attempting removal.
Will acetone damage the wall?
Acetone is effective but can damage painted or finished surfaces. Always test on a small, inconspicuous area before applying it to the paint drip.
How do I know if the paint is latex or oil-based?
Rub a small spot with rubbing alcohol on a cloth. Latex paint will transfer onto the cloth, while oil-based paint will not.
Can I use a chemical paint remover?
Yes, but choose a remover suitable for indoor use, especially if working on drywall. Use in a well-ventilated area and follow the manufacturer’s instructions.
Restore Your Walls with Confidence
Knowing how to remove dried paint drips from walls ensures a flawless finish for your home improvement projects. By following these steps and future-proofing with preventative measures, you’ll save both time and frustration down the line.