Looking to refresh and smooth out your walls without a full renovation? Skim coating is your answer! Whether you’re dealing with uneven surfaces, imperfections, or simply want to prep your walls for a fresh layer of paint or wallpaper, this technique can work wonders.
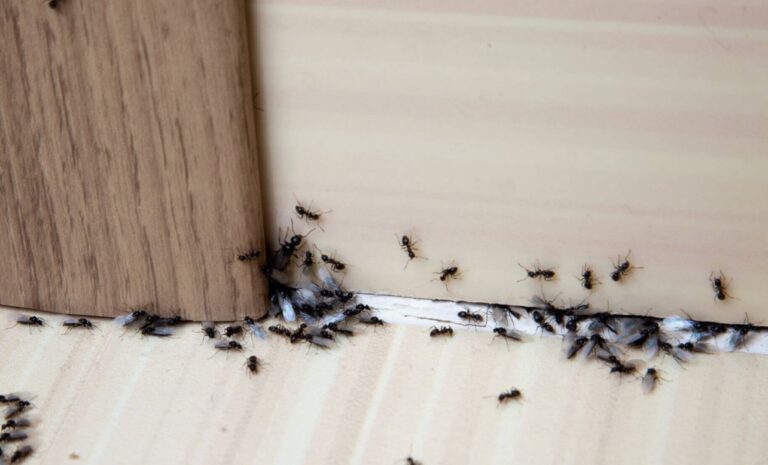
We will explain how to skim coat a wall step by step, making it an easy and achievable DIY project for you. By the end, you’ll feel confident enough to tackle your walls and give them a flawless finish! Before you begin make sure to make your walls free of ants.
Skim Coat a Wall with Easiest Ways
Before you can begin, gather all the essentials to make the process smooth and hassle-free. Here’s what you’ll need for how to skim coat a wall with joint compound. We also explained how to limewash your wall.
Tools Needed to Skim Coat a Wall
- Putty knife or taping knife (6″, 8″, or 12″)
- Trowel or drywall hawk
- Mixing drill with a paddle attachment
- Sanding block or pole sander
- Paint roller (if learning how to skim coat a wall with a roller)
- Drop cloth or plastic sheeting to protect floors
- Mask and goggles for safety
Materials involved in Skim Coating
- Joint compound (ready-mixed or powdered)
- Water for mixing
- Painter’s tape
- Patching putty (for filling holes or deep dents)
Having the right tools at hand sets you up for success! Now, onto wall prep.
Step 1: Prepping the Wall
Proper preparation is crucial for achieving a smooth finish. Here’s what you need to do:
Clean the Wall: Remove any dirt, grease, or dust using a damp sponge and mild soap.
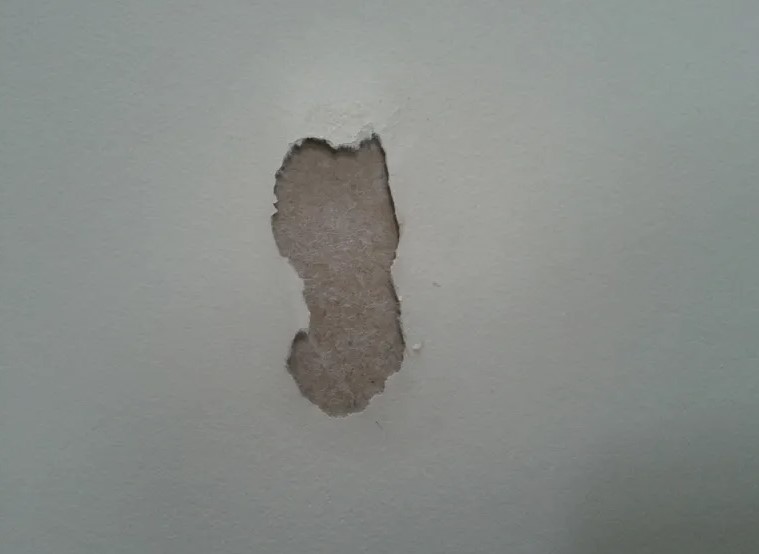
Fill Holes or Cracks: Use patching putty to fill any holes, cracks, or deep imperfections. Allow the putty to dry and sand if needed.
Remove Wallpaper Residues (if applicable): Learning how to skim coat a wall after removing wallpaper? Ensure you strip all old adhesive using warm water and a scraper.
Protect Surroundings: Cover floors and tape off areas you don’t want to coat with painter’s tape.
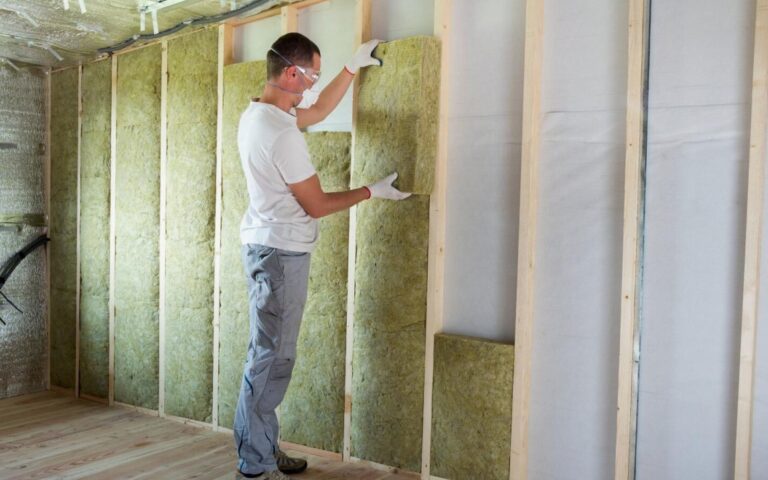
Once your wall is cleaned and patched, you’re ready to mix and apply the skim coat. insulated walls can also be skim coated.
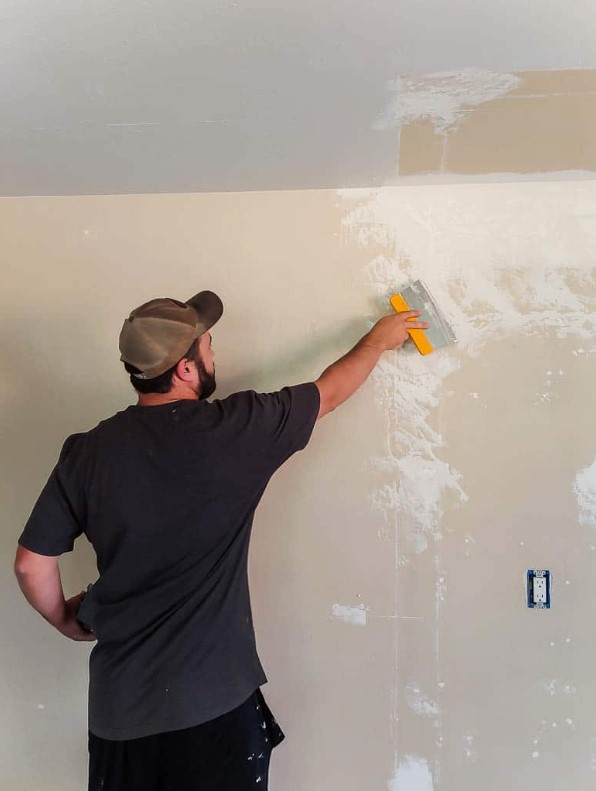
Step 2: Mixing and Applying Your Skim Coat
Here’s where the magic happens! If you’ve been curious about how to skim coat a wall for wallpaper or paint, this step is key.
Mixing
- Combine joint compound with water in a bucket using your drill and paddle mixer.
- Aim for a consistency similar to pancake batter—it should be creamy but not too runny for smooth application.
Applying
- If using a roller, apply a thin, even layer of the compound to the wall, then smooth it out with a putty knife or trowel. (This is ideal for how to skim coat a wall with a roller.)
- For traditional application, load your trowel or hawk with compound and apply an even layer, overlapping strokes slightly for full coverage.
- Maintain a light, consistent pressure to minimize streaks and uneven patches.
- Work in sections, so the compound doesn’t dry before smoothing.
Step 3: Sanding to Perfection
After the skim coat has fully dried (typically 24 hours or longer), it’s time to sand for that perfect finish.
- Use a sanding block or pole sander with fine-grit sandpaper (120-150 grit works well).
- Gently sand the wall, focusing on uneven spots or ridges.
- Wipe the wall clean with a damp cloth to remove dust once sanding is complete.
If you want to avoid sanding entirely, consider flattening imperfections while the compound is still wet. Explore tutorials or videos on how to skim coat a wall without sanding for this alternative method.
Common Mistakes to Avoid
Skim coating can be rewarding, but it’s easy to make mistakes. Look out for these and follow our tips:
Mistake 1: Mixing Compound Incorrectly
Solution: Always mix thoroughly to avoid lumps. Use a drill for smooth consistency.
Mistake 2: Applying Too Thick a Layer
Solution: Apply thin, even coats. It’s better to do multiple layers if needed.
Mistake 3: Forgetting Proper Preparation
Solution: Don’t skip cleaning or patching the wall—it will affect your final result.
Mistake 4: Rushing Sanding
Solution: Be patient and use fine-grit sandpaper for smooth results.
The Cost of Skim Coating
If you’re wondering how much it costs to skim coat a wall, the expense depends on whether you DIY or hire professionals. On average:
- DIY Cost: $30-$50 for supplies per room
- Professional Services: $1.50-$3.00 per square foot
DIY is more cost-effective, especially for small projects, but hiring a professional ensures high-end results without the need for trial and error.
Final Tips and Next Steps
Skim coating is a great way to elevate your walls and home. Whether learning how to skim coat a wall after removing wallpaper or giving an old wall a fresh finish, the results can be incredibly satisfying.