When it comes to roofing, details matter. Staggering architectural shingles properly is one of those critical details that can transform a roof from functional to exceptional. Whether you’re a homeowner tackling a DIY project, an enthusiast exploring new skills, or a roofing professional honing your trade, understanding the correct way to stagger shingles can save time, improve durability, and boost curb appeal.
How to Stagger Architectural Shingles (Step-by-Step)
Step 1: Gather Materials and Tools
Before you start, ensure you have the following:
- Architectural shingles
- Roofing nails
- Roofing hammer or nail gun
- Roofing underlayment
- Measuring tape
- Utility knife
- Chalk line
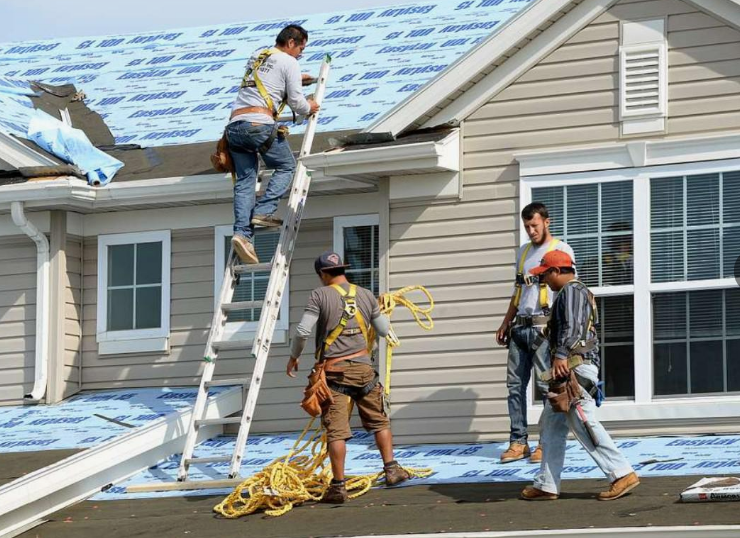
- Ladder and safety gear
Step 2: Prepare the Roof Surface
Proper preparation will make the entire process easier and safer.
- Remove old shingles if you’re replacing an existing roof.
- Check the roof decking for damage and replace as needed.
- Install a moisture-resistant roofing underlayment across the entire roof surface.
Step 3: Start with the Starter Strip
A starter strip is a crucial first layer.
- Place your starter strip shingles along the edge of the roofline.
- Nail them down securely to create a base that ensures proper water runoff.
Step 4: Create the First Course
- Begin your first course with a full shingle. Align it with the edge of the roofline.
- Use a chalk line to create a straight guide across the roof to help keep your shingles level during installation.
Step 5: Stagger the Second and Subsequent Courses
Here’s where the staggering begins:
- Use a utility knife to cut 6 inches off the first shingle in the second row. This will offset the seams.
- For each subsequent row, cut the starting shingle shorter by an additional 6 inches.
- For example:
- Row 1 starts with a full shingle.
- Row 2 starts with a shingle cut 6 inches shorter.
- Row 3 starts with a shingle cut 12 inches shorter.
- Repeat the process for each row, maintaining consistent offsets.
- Step 6: Secure Shingles Correctly
- Nail shingles to the roof according to the manufacturer’s guidelines. Typically, four to six nails per shingle are recommended, depending on wind conditions in your area.
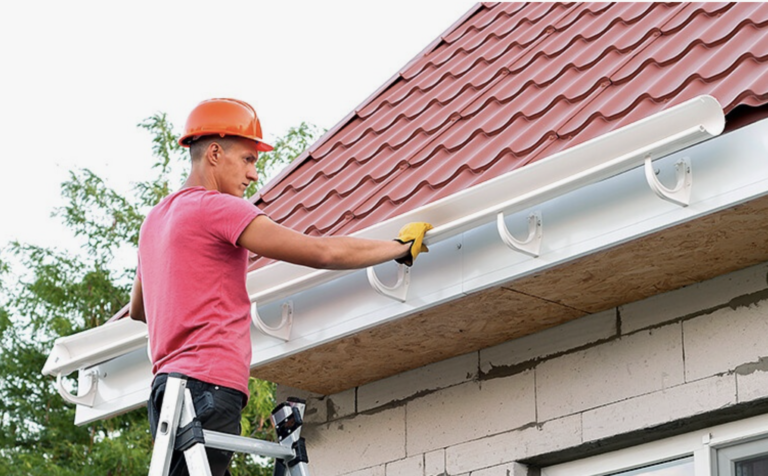
- Step 7: Finish with Ridge Cap Shingles
Ridge cap shingles cover the peak of the roof and provide the finishing touch.- Place ridge shingles so they overlap evenly along the length of the ridge.
- Nail them down securely to prevent lifting.
- Tip for DIYers: Always check the roofing manufacturer’s installation manual, as slight variations in staggering techniques may apply.
Step 8: Inspect Your Work
Once the shingles are in place, inspect for:- Straight lines across rows.
- No visible gaps or uneven staggering.
- Securely fastened nails.
- If everything checks out, congratulations—you’ve successfully staggered your shingles like a pro!
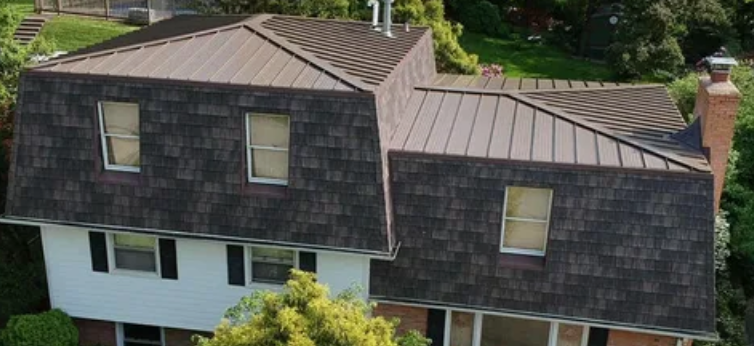
What Are Architectural Shingles?
Architectural shingles, also known as dimensional shingles, are a popular upgrade from traditional 3-tab shingles. They are constructed with multiple layers of asphalt, giving them a thicker, more durable, and textured appearance. Thanks to their smart engineering and stylish design, they’ve become a favorite for residential roofing projects.
Benefits of Architectural Shingles:
- Aesthetic Appeal: Architectural shingles have a multi-dimensional appearance that mimics the look of natural slate or cedar shake.
- Durability: They are designed to withstand wind, rain, and extreme weather better than 3-tab shingles.
- Longevity: With proper installation, these shingles often carry warranties of 30 years or more.
- Higher Resale Value: Architectural shingles can enhance the value and curb appeal of your home.
While they require more skill to install compared to 3-tab shingles, their benefits make them a worthwhile investment.
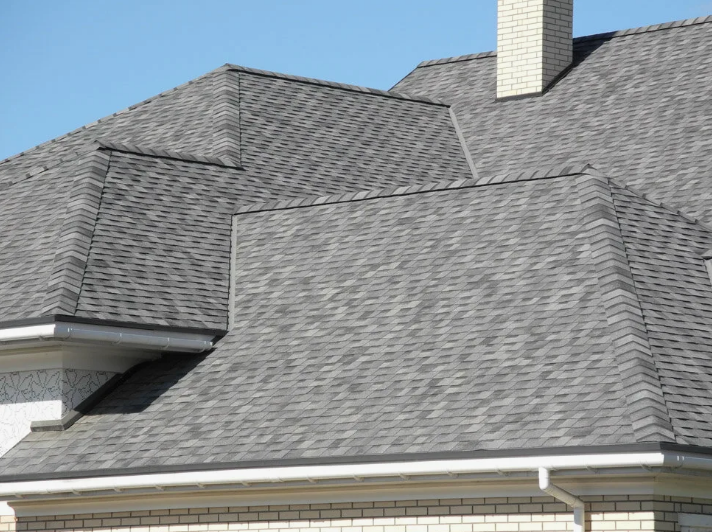
Why Proper Staggering Is Key
The way architectural shingles are arranged—or staggered—on your roof plays a significant role in both the functionality and appearance of your roof. Incorrect staggering can lead to visible seams, uneven patterns, and, more importantly, a roof that is vulnerable to water leaks and wind damage.
Benefits of Proper Staggering
- Enhanced Durability: Correct staggering ensures water cannot penetrate seams easily, reducing the risk of leaks.
- Weather Resistance: Proper staggering helps shingles interlock effectively, making them less likely to lift or blow off during high winds.
- Seamless Appearance: A correctly staggered pattern avoids creating noticeable, unsightly seams.
- Reduced Waste: Following the proper technique minimizes the number of wasted shingles during installation.
Common Mistakes to Avoid
While staggering shingles may seem straightforward, there are some common pitfalls to be aware of:
- Skipping the Chalk Line: Skipping this step often results in uneven rows and crooked shingles.
- Neglecting Starter Strips: Without a proper foundation, water can seep under the shingles.
- Poor Nail Placement: Nails that are too close to the edges can lead to loosening over time.
- Random Offsets: Follow an organized staggering pattern to avoid creating weak points in the roof.
Avoiding these mistakes will save you time, money, and unnecessary frustration during installation.
Should You Hire a Professional?
For homeowners or DIY enthusiasts, staggering shingles can be a rewarding project—but it’s not for everyone. Consider hiring a professional roofing contractor if:
- You’re uncomfortable working on a roof.
- Your roof has a steep pitch or complex design.
- You want to ensure warranty protection, as some manufacturers require professional installation for their warranties to remain valid.
Professional installers have the expertise to complete the job quickly and efficiently while ensuring high-quality workmanship to maximize the lifespan of your roof.
Strengthen Your Roof, One Shingle at a Time
Staggering architectural shingles is more than just a technical process—it’s an essential practice that ensures your roof is beautiful, durable, and long-lasting. Whether you’re installing them yourself or hiring a professional, following the correct technique is key to avoiding costly mistakes and protecting your home from the elements.